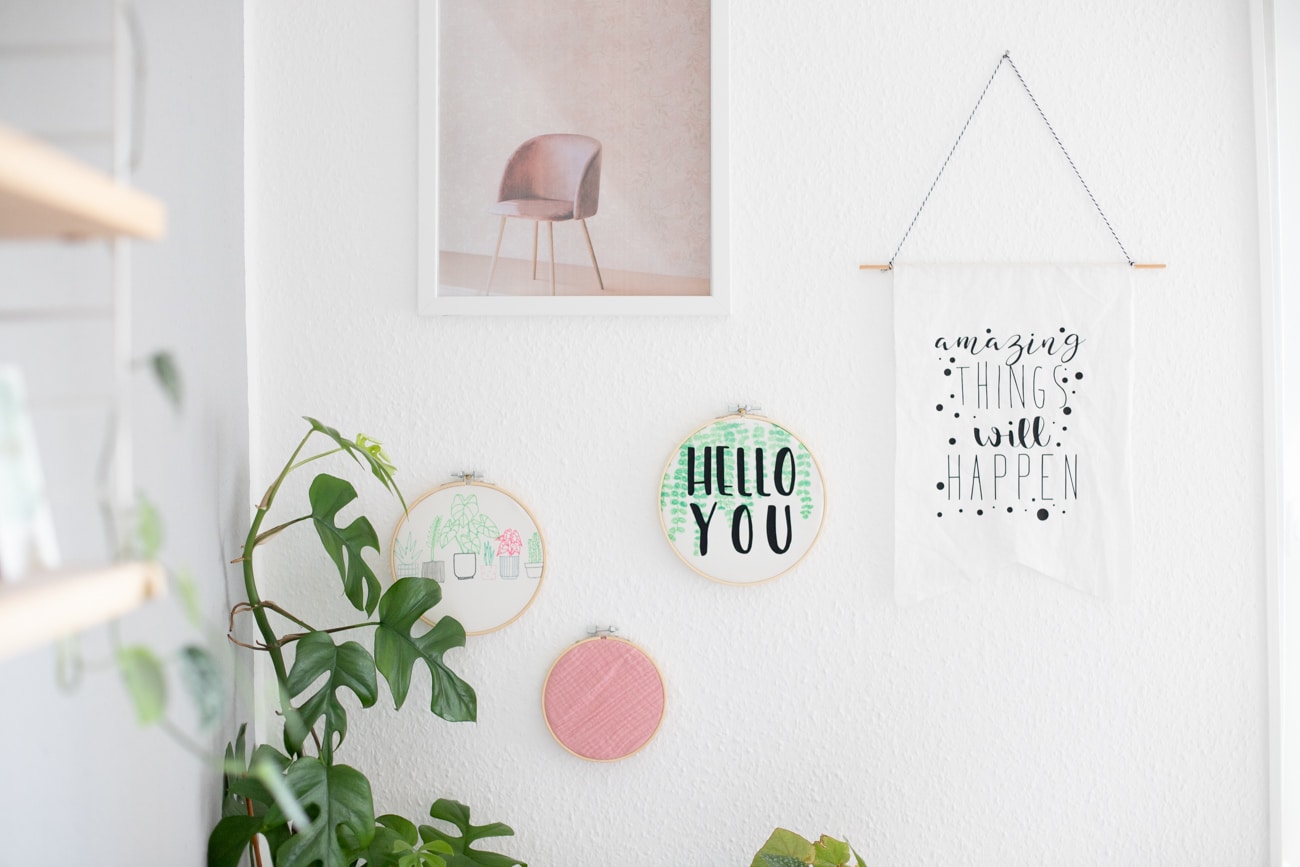
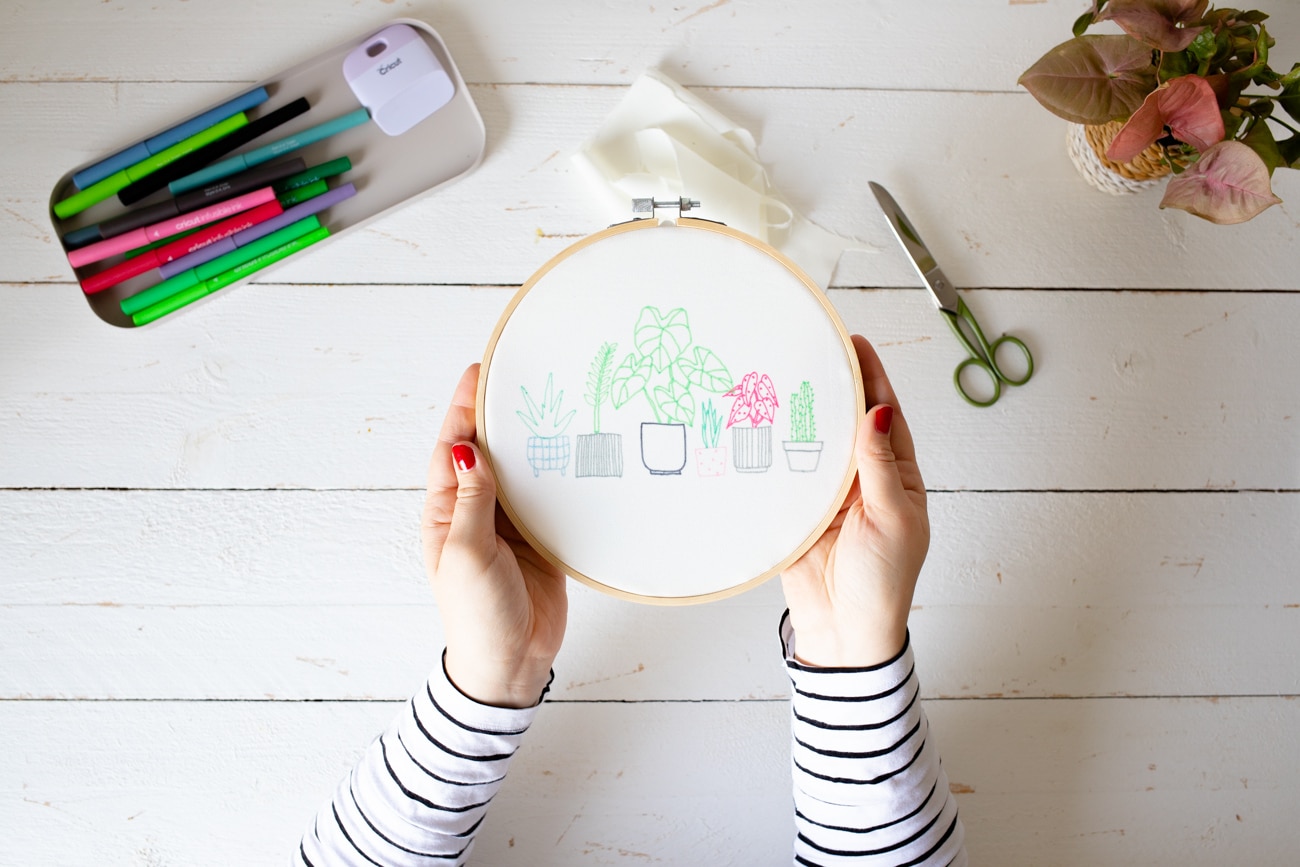
Sometimes there is DIY projectslike this embroidery frame decoration that you just have to try. That’s exactly how I felt when I was the first time Infusible Ink ™ products* from Cricut saw. In this article I will show you how to use the infusible Ink ™ products on fabric to make a embroidery frame decoration. I also show you how you can combine iinfusible Ink ™ with Iron on foils*.
For the Applying infusible ink ™ There are a few small tips that I would like to give you before your first application.
- press or Iron? Clearly press! The big advantage over the iron is that the press can ensure even and exact heat distribution. A Iron is far from so precise And this can lead to the infusible INK ™ not evenly pressed into the fabric.
- Always reflect. As with other foils for fabric, you have to Memorize the motif before pressingso that you can hand it around.
- CottonNo thanks. It is a shame, but for using the infusible INK ™ products it is best to use 100 % polyester fabric. How I will probably try it anyway, I can already tell you, yes, a touch of the color is transmitted, but the result is far from being as intense as with the application 100 % polyester.
- Watercolor effect? Yes with detours. For watercolor effects, open the infusible Ink ™ marker at the end of the marker and can then pull out the color tank and the Place ink on a color palette. With a brush and some water, you then transfer your watercolor motif to the paper. It is important that mixing the ink with water can reduce the durability of the infusible INK ™ products.

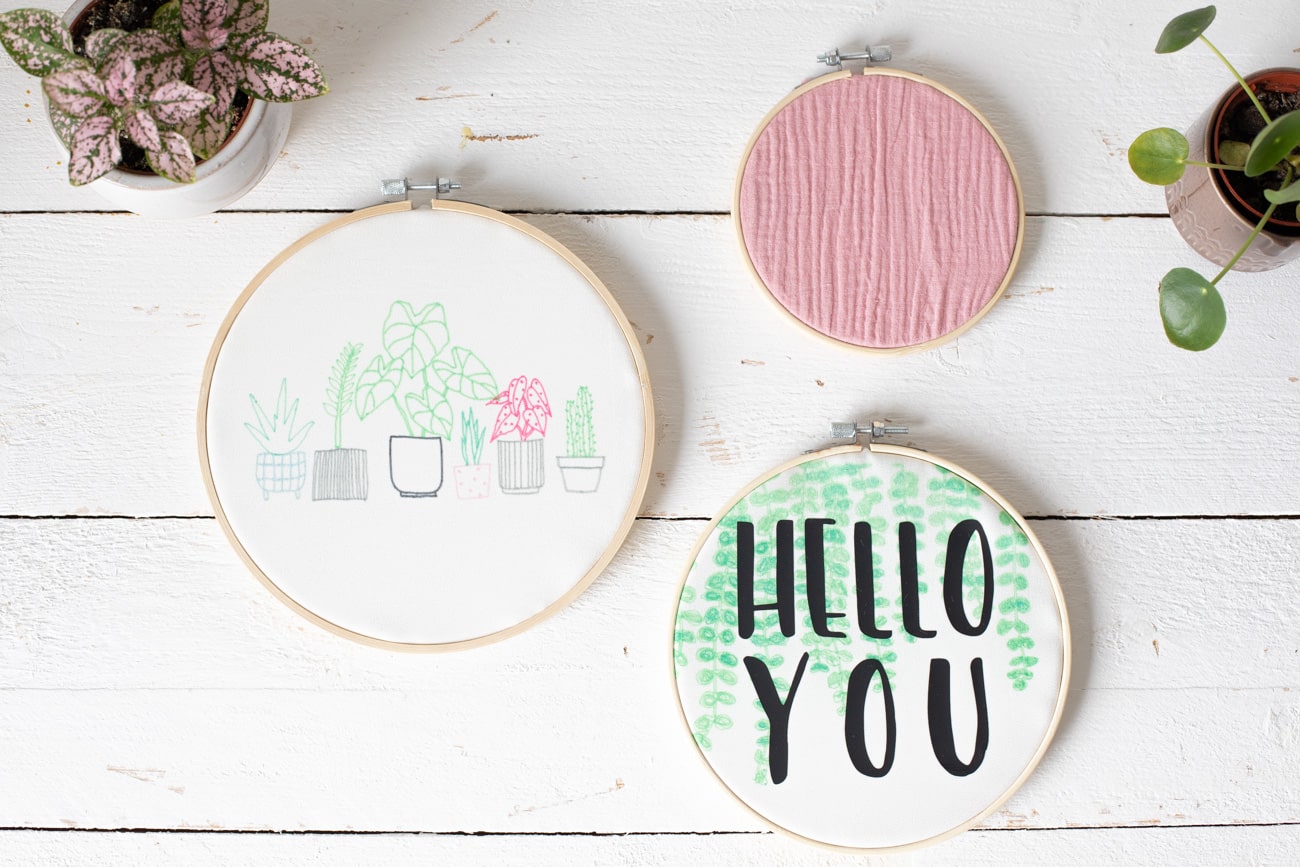
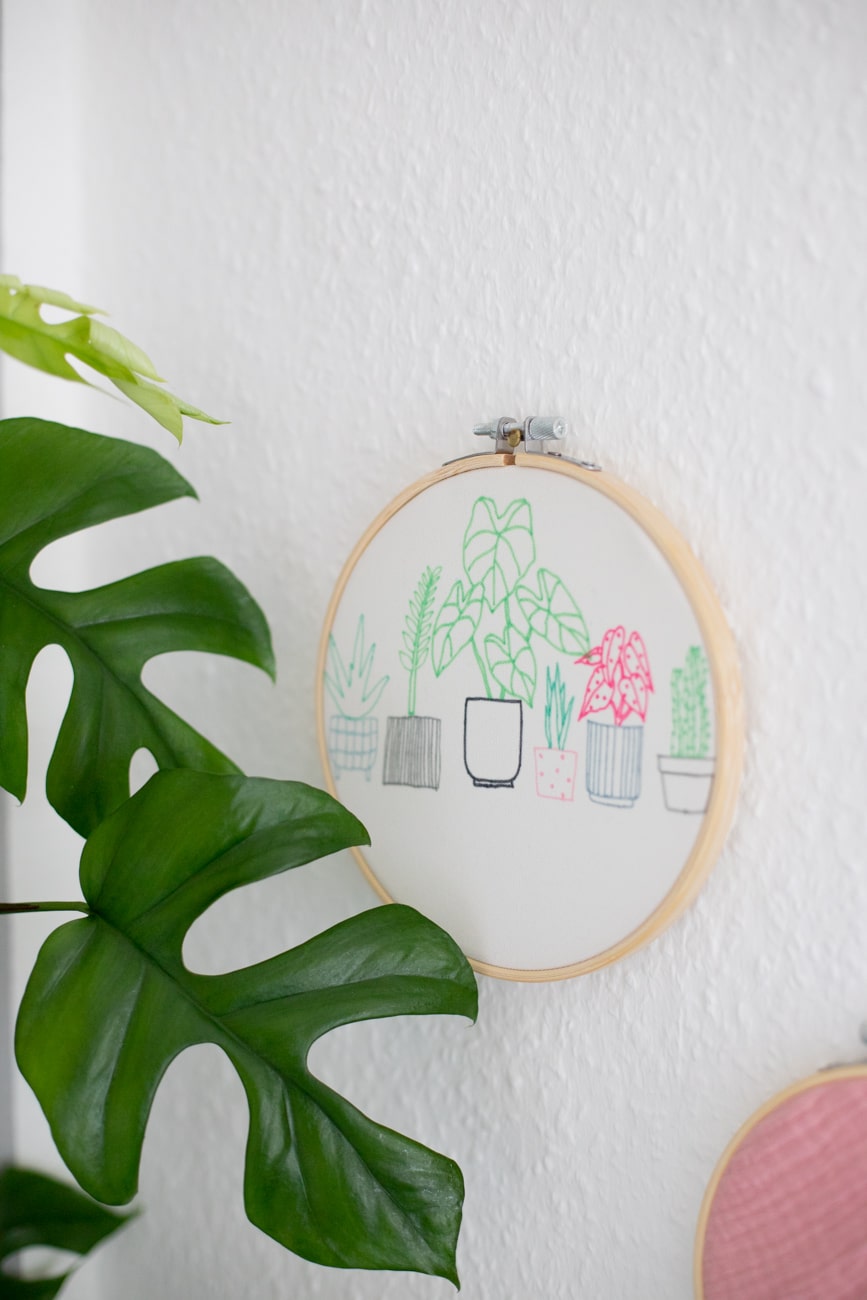
Design the embroidery frame decoration with the plotter
To design the embroidery frame decoration, you need:
So you proceed to design your embroidery frame decoration:
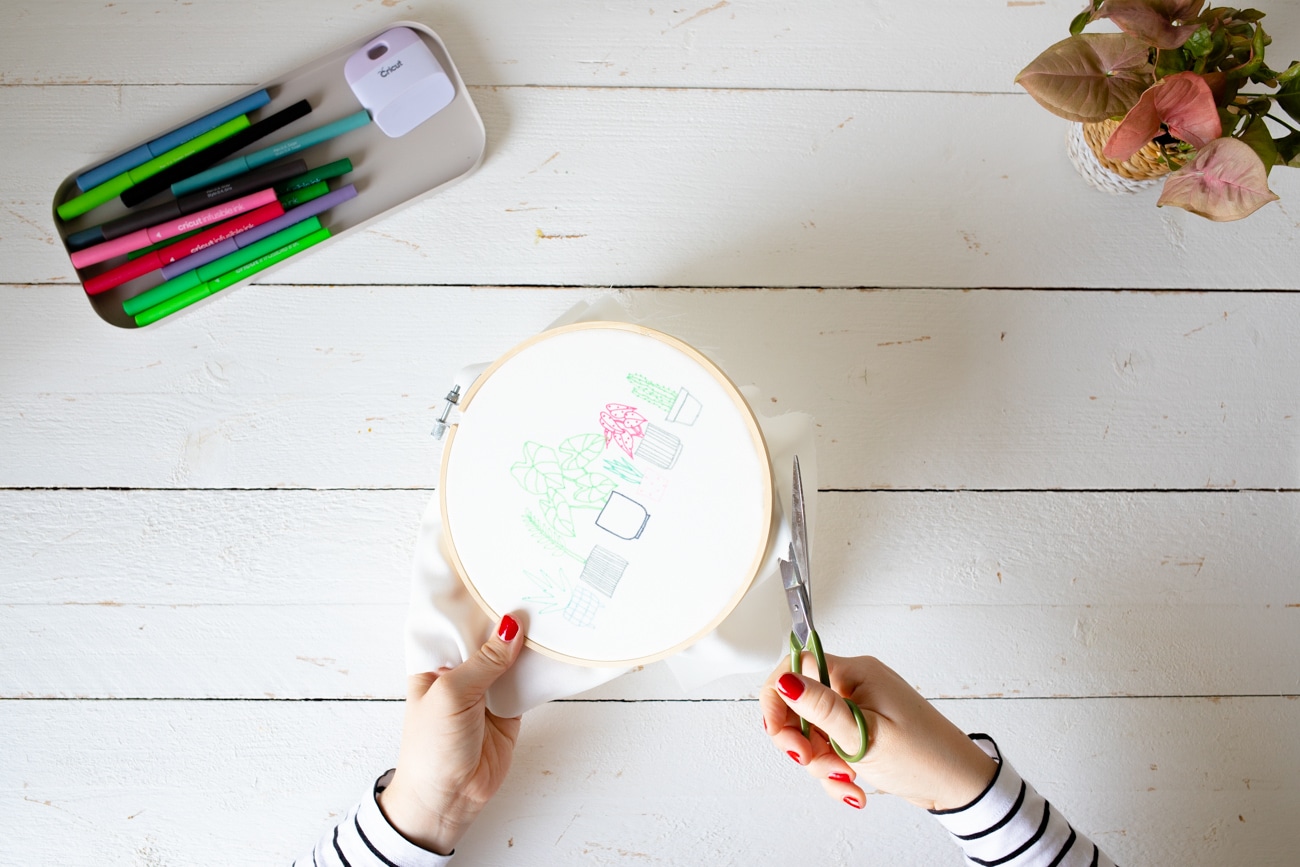
1. Lays your Paper on your cutting mat and Press the paper firmly.
2. Load the Cutting mat Then in your plotter.
3. In Cricut Design Space You load your motif and then choose in Operation division selects you the Function Stift off and then the Color of your desired marker. If you like me different colors want to combine, you should release every element of the motif and dye each.
4. Click on Produce And reflects your motif in the next step. Then you set the first Stift in the pen holder and let your plotter paint.
5. As soon as your motif is transferred to the paper, you can use the cutting mat. Tip: Pull the mat off the paper And not the other way around.
6. With the help of Cricut Heat Guide you can easily find out, on what temperature your press heated must be and how long you have to press it on the motif. With 100 % polyester and copy paper you need a temperature of 195 ° C and 60 seconds press time.
7. Leave the Cool a little And then take the paper from the fabric. As soon as it is completely cooled, you can clamp the fabric into the embroidery frame.
8. Is your Fabric firmly clampedcan you Cut out excess fabric with scissors.
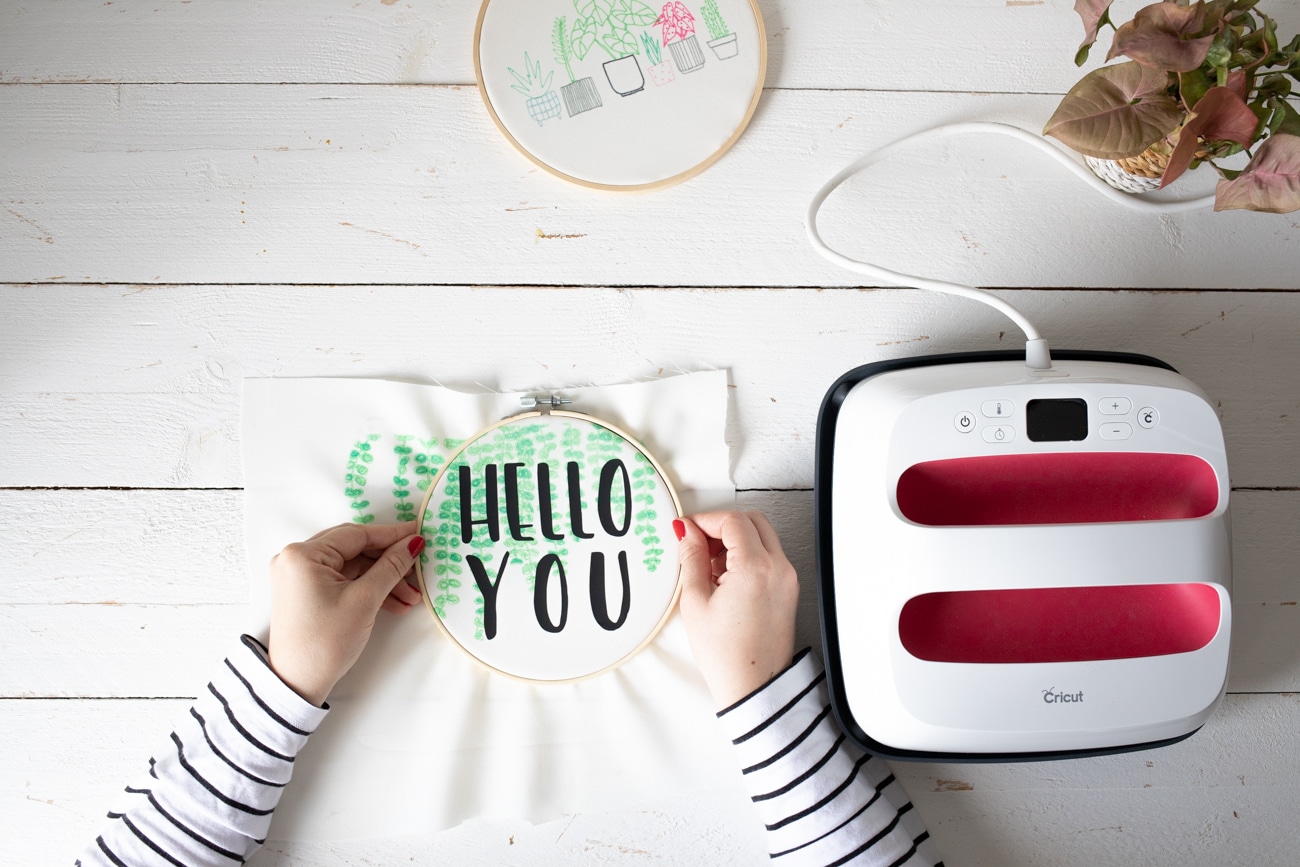
Infusible Ink ™ and Iron on combine for a creative embroidery frame decoration
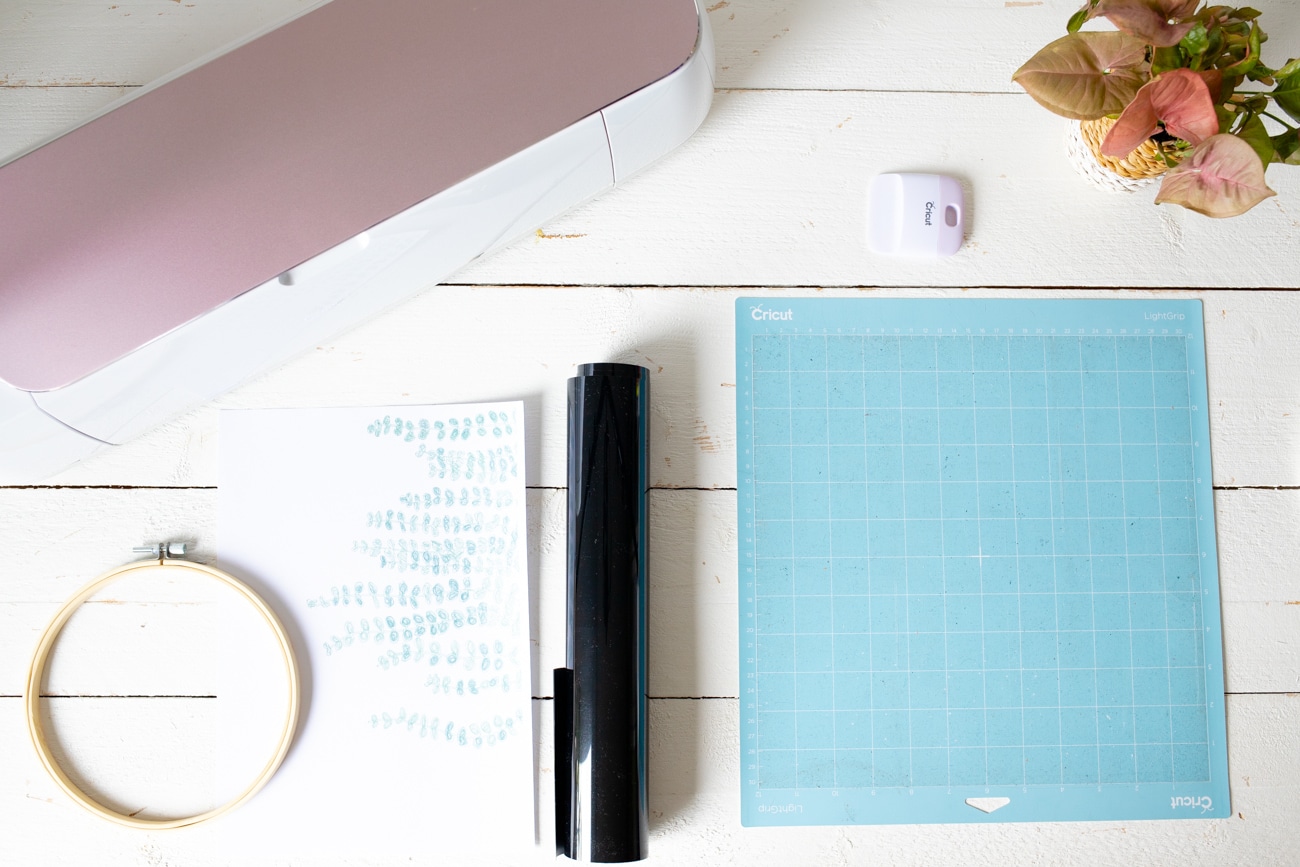
You need the following material:
This is how you proceed to design your embroidery frame:
1. After your motif created in the Cricut Design Space and with the Provide matching pin colors have, you put one Leaf paper on your cutting mat And invite them to your plotter.
2. After you the infusible Ink ™ part of your Transfer motifs to paper have you load them Iron on film And let the plotter cut out your desired motif. Disconnect the text and put it ready for you. Tip: Make sure that your The motif is mirrored before cutting.
3. With the help of your Press iron You now in the first step Infusible Ink ™ ink in the fabric. For the correct temperature and time duration Just have a look at the Cricut Heat Guide.
4. As soon as your fabric has cooled down, you then put them Iron on film On the fabric and also presses it on the fabric. Before you Domits transfer film, your fabric should be cooled well.
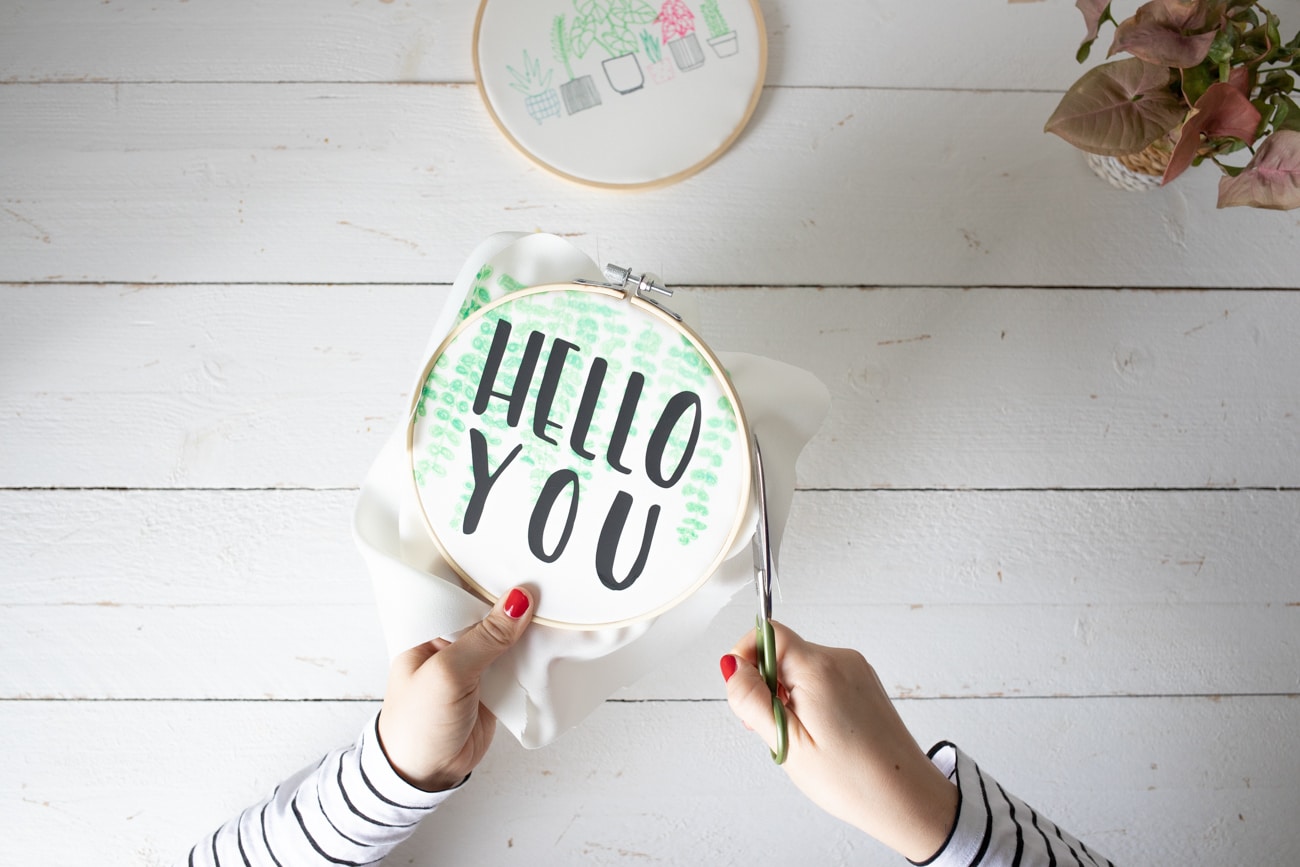
5. Now you can put your embroidery frame around your motif and the Cut excess fabric.
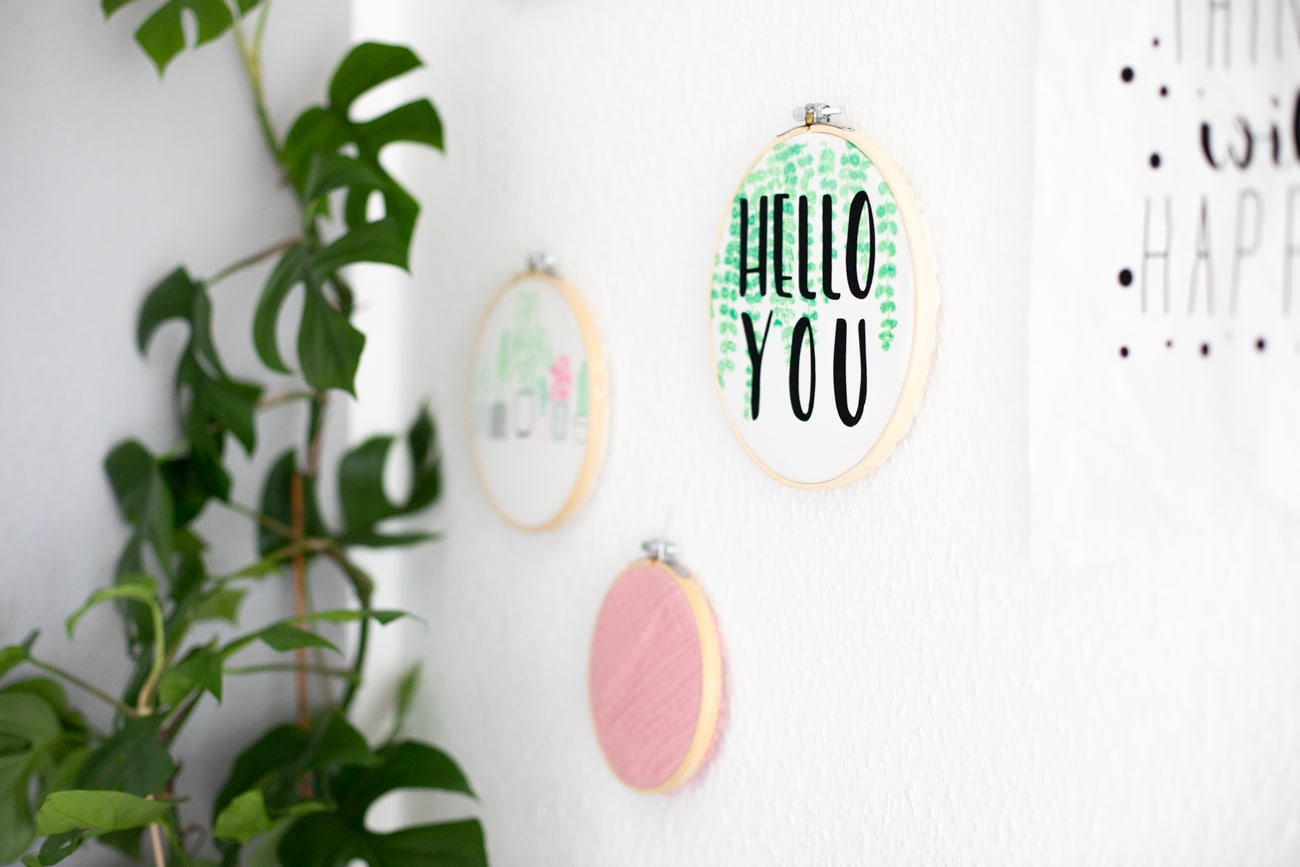
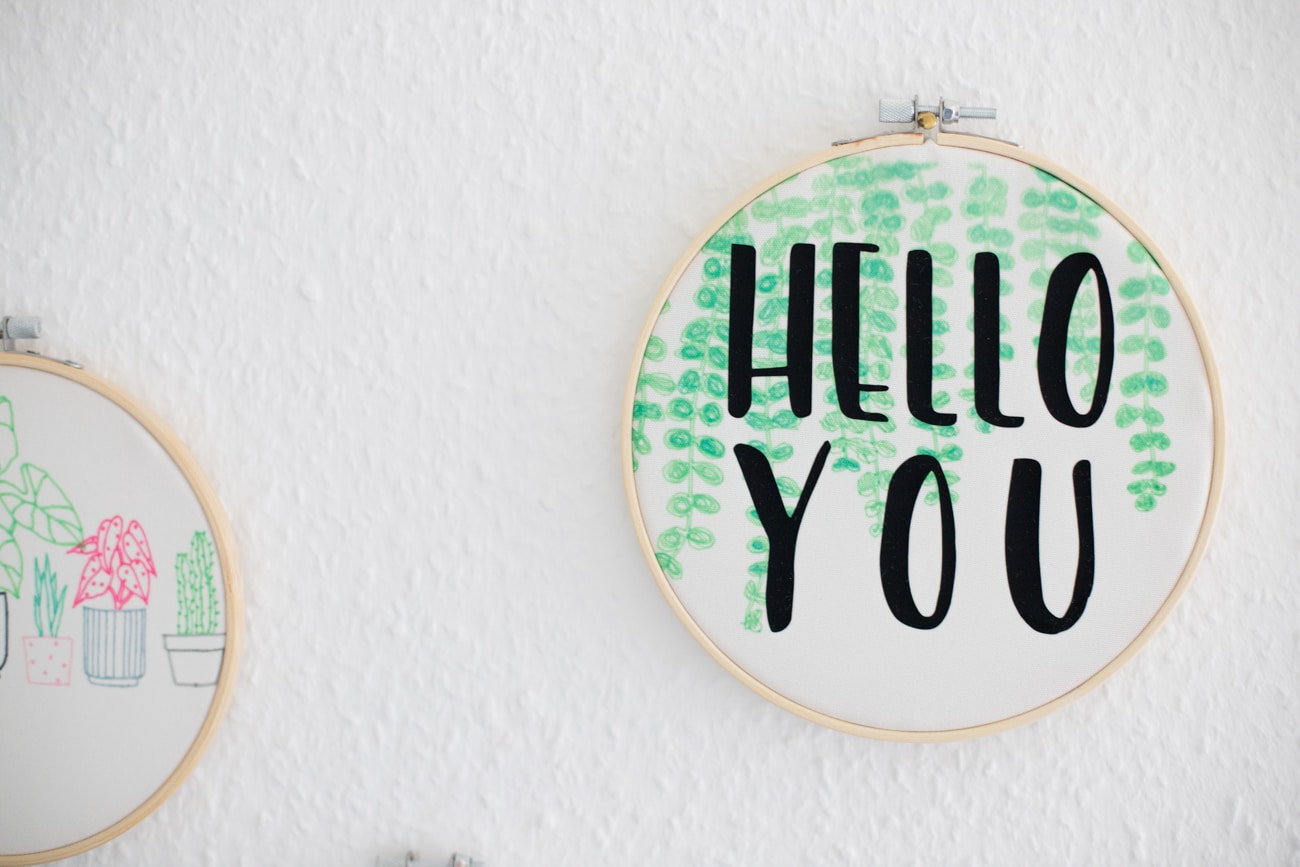
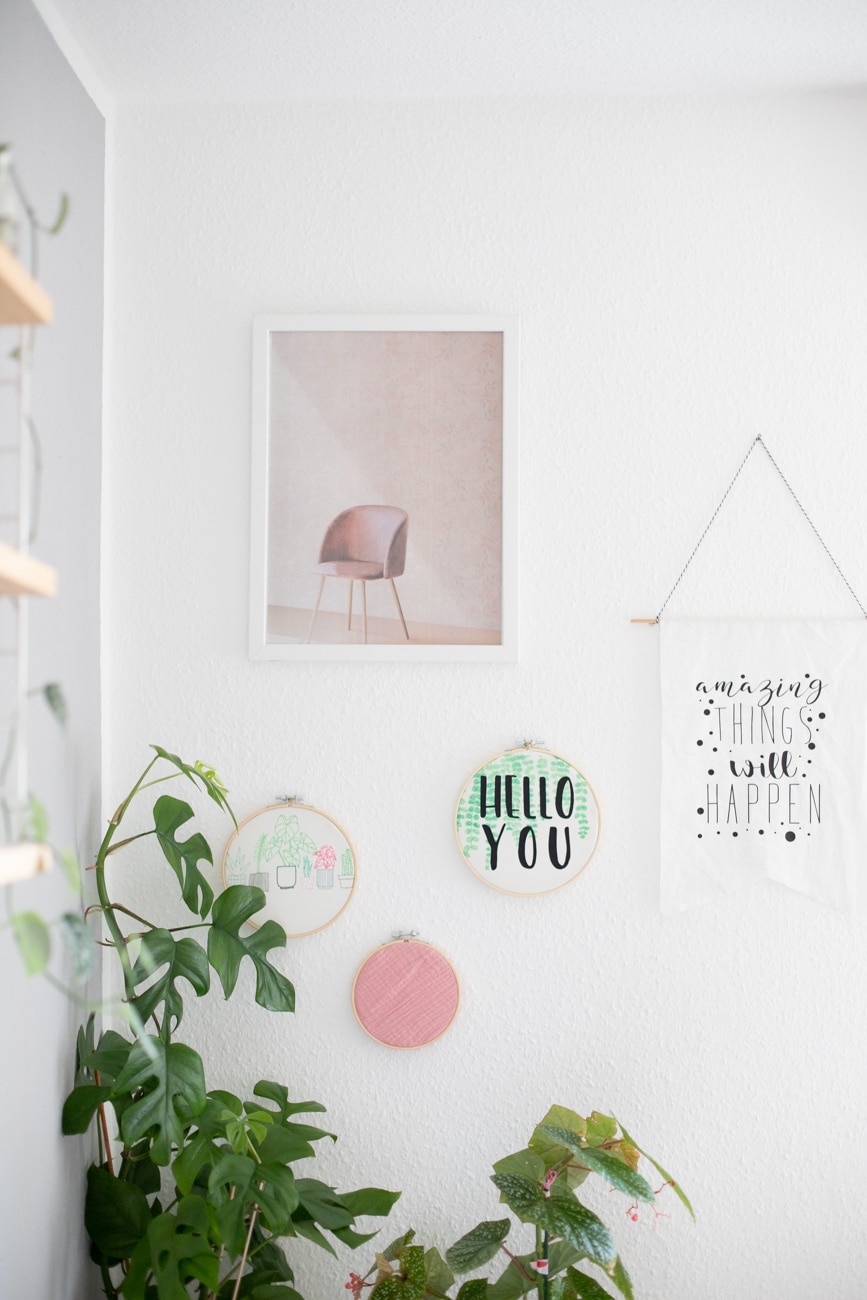
Your creativity are in this project No limits And you can always redecorate the embroidery frames according to your taste.
You are looking for Other ideas, instructions and recipes? Here are a few suggestions for you:
And here is the pinterest pin for the instructions for designing embroidery frames with the plotter for you:
The links marked with * are paid partner links. There are no disadvantages for you when buying or price.
Last update on April 25th, 2025 / affiliate links / pictures from the Amazon Product Advertising API


Leave a Reply